
DualShock Retrobrighting
CAUTION: This is not a tutorial, instruction, or guideline of any kind. Hydrogen peroxide may be harmful when not handled properly. This article is written for entertainment purposes only.
Introduction
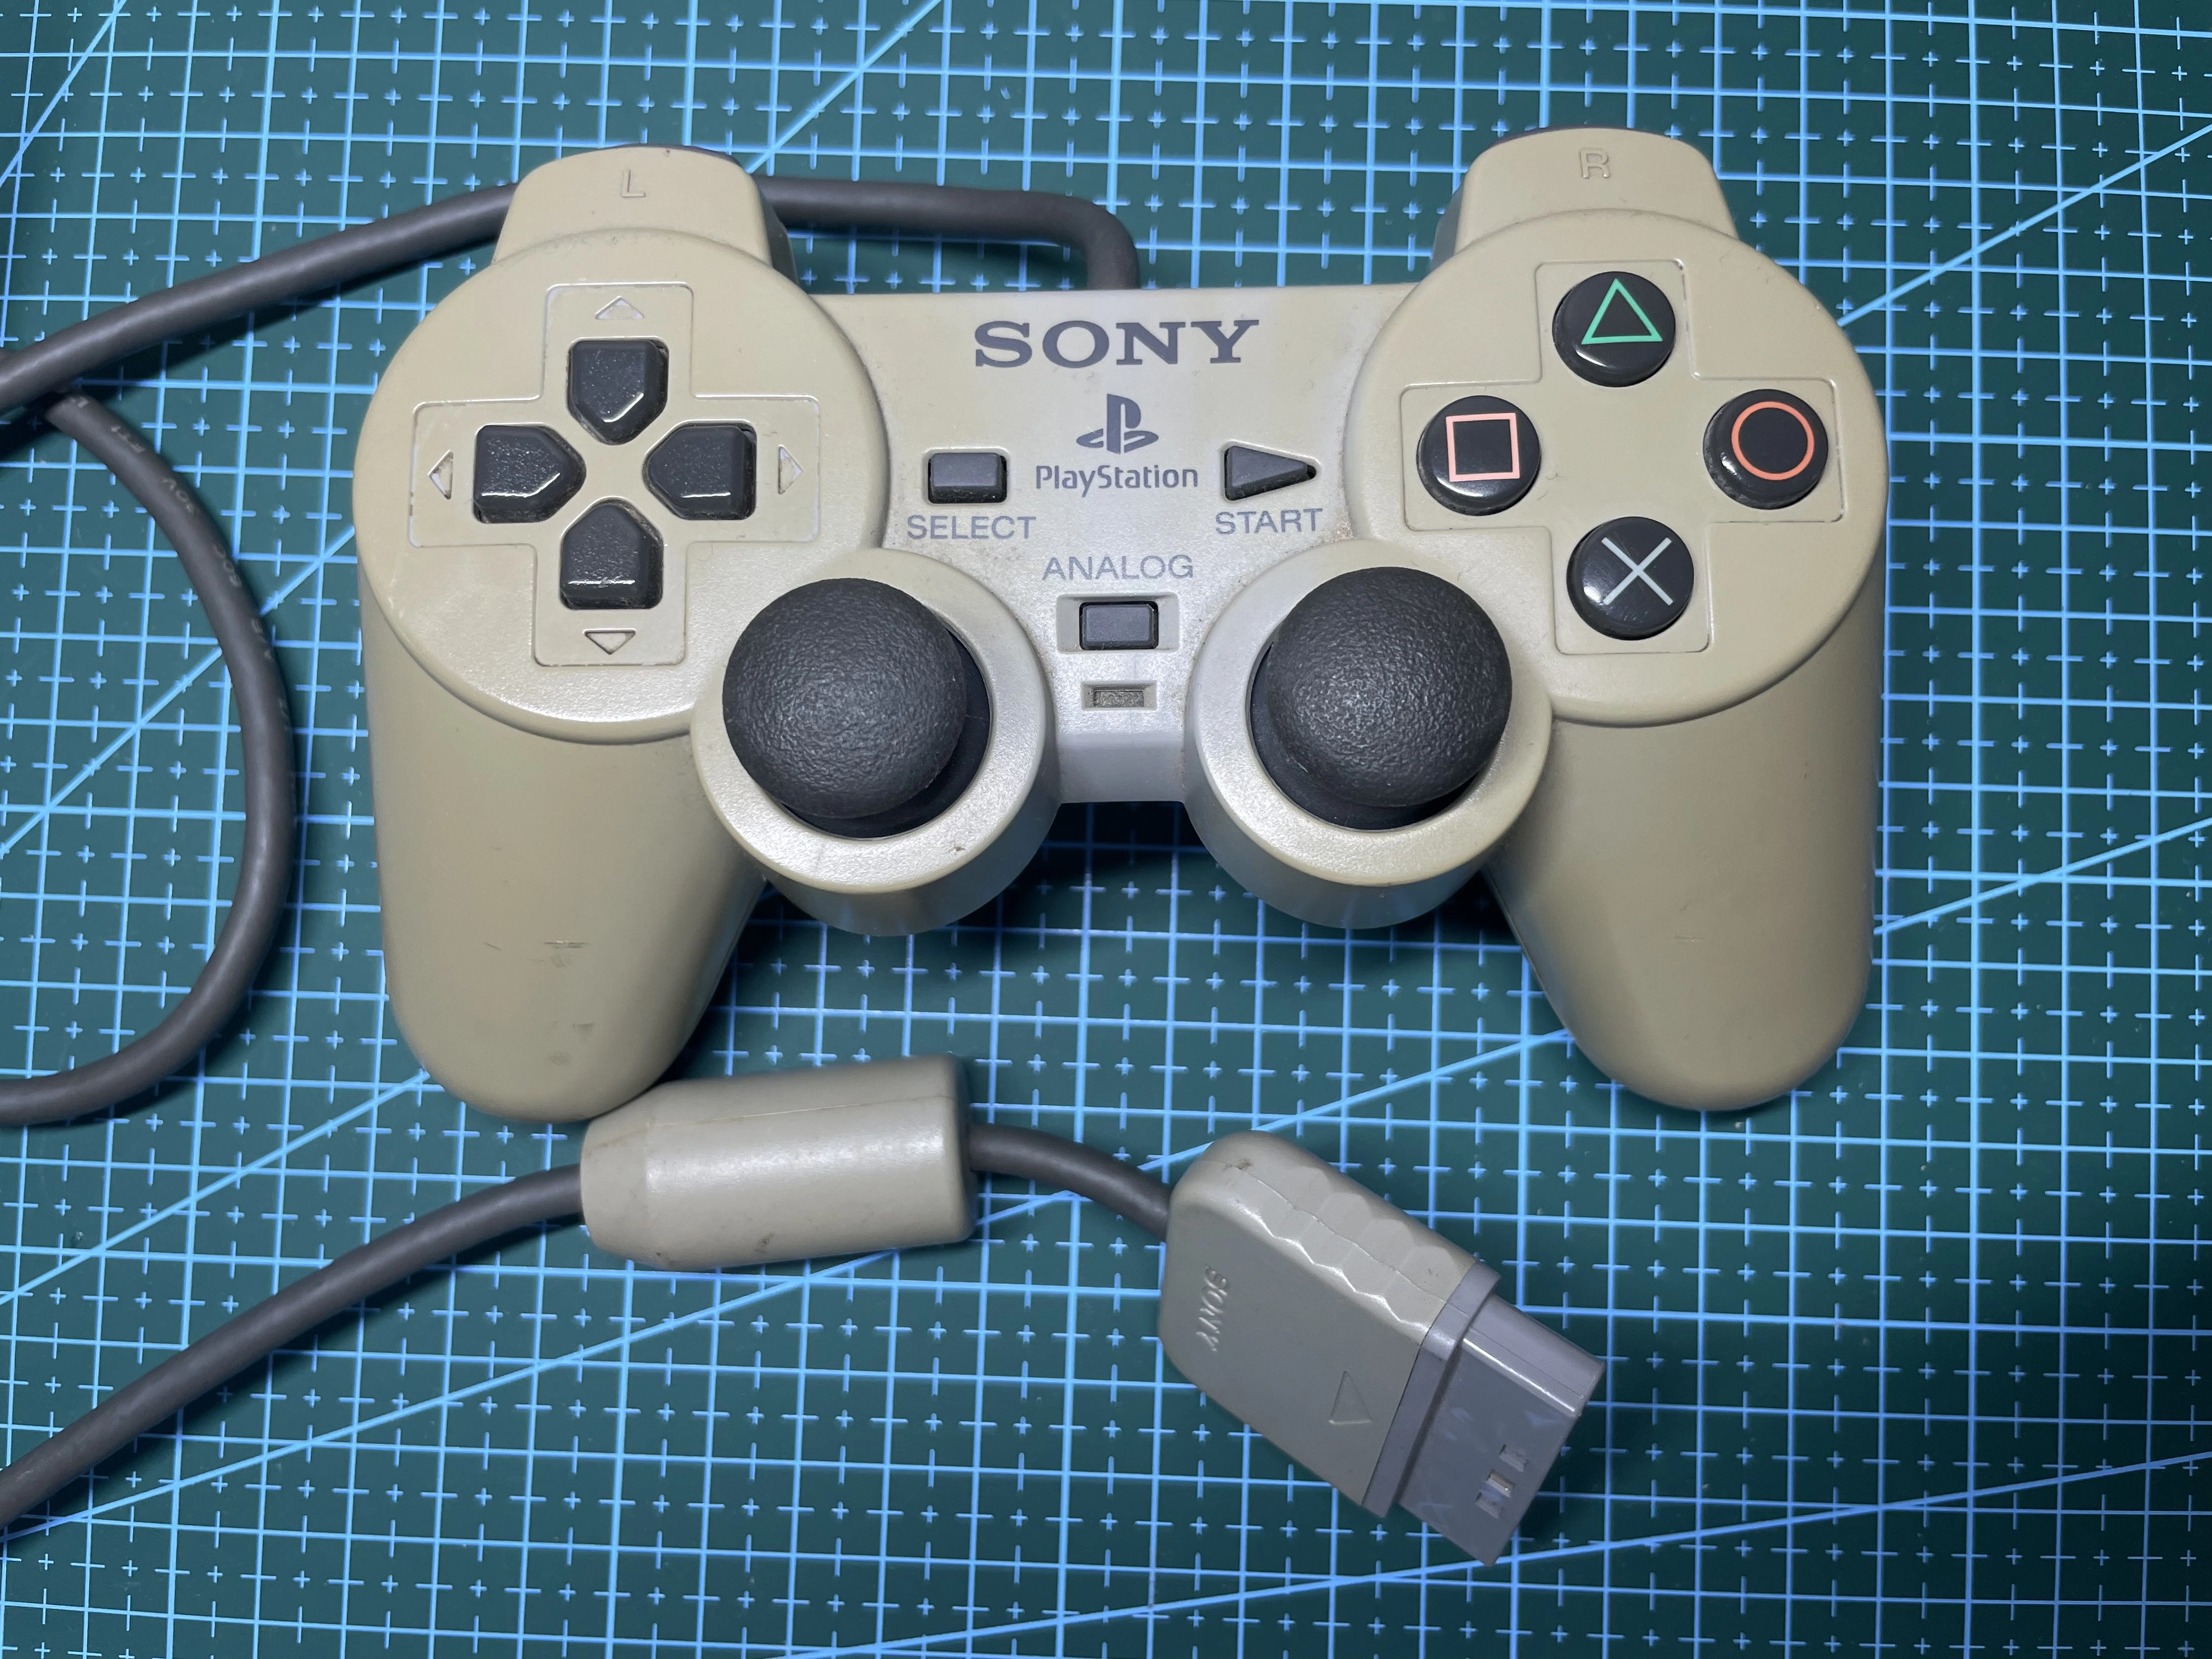
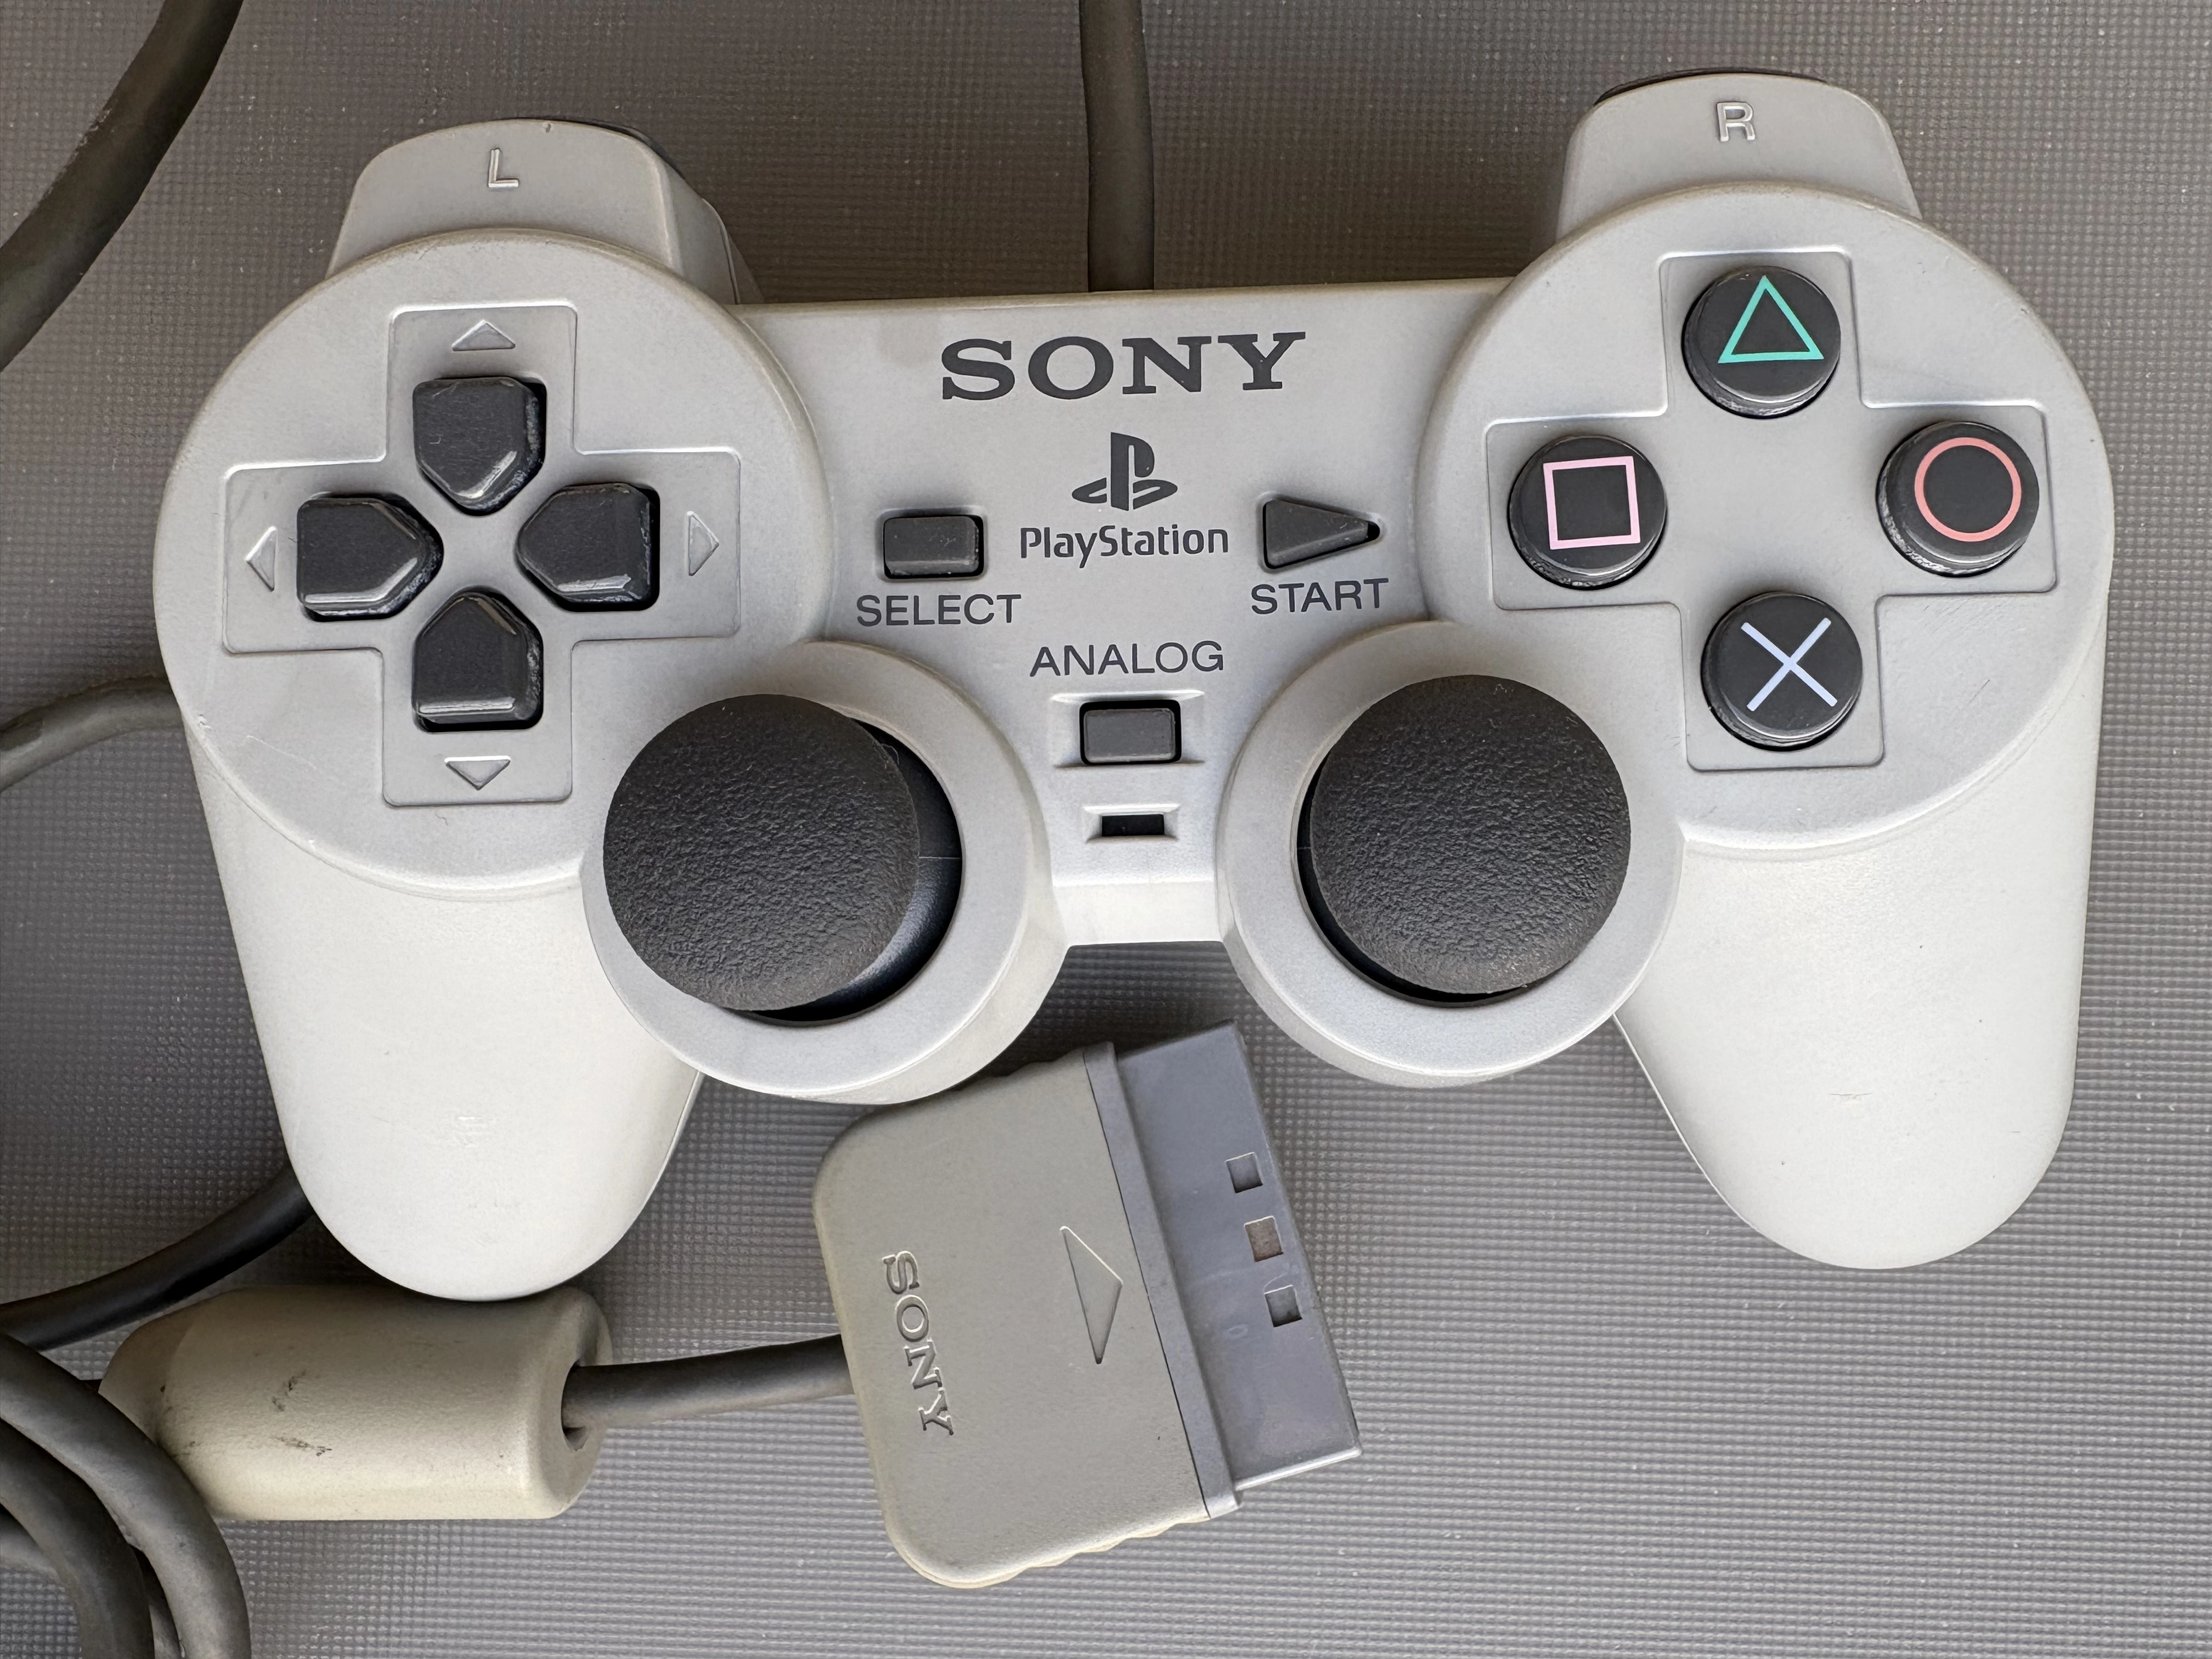
In this post, I’ll show you how I did my retrobrighting project on the original PSX DualShock controller. It’s not uncommon for old electronics to turn yellow over time. In the picture below, you can see that this controller is very far from its original gray color. There is a well-known method that helps to remove yellowing - submerging the yellowed parts in hydrogen peroxide and exposing them to UV light for some time. Let’s see if we can bring back its original look!
Taking the DualShock Apart
First, we need to take the controller apart. The hydrogen peroxide treatment will be done on the shell, buttons, and analog sticks. The picture below shows even better how yellowed this thing is. The inner part of the bottom shell is nice and bright gray, while the outer part of the top shell is yellow and discolored.
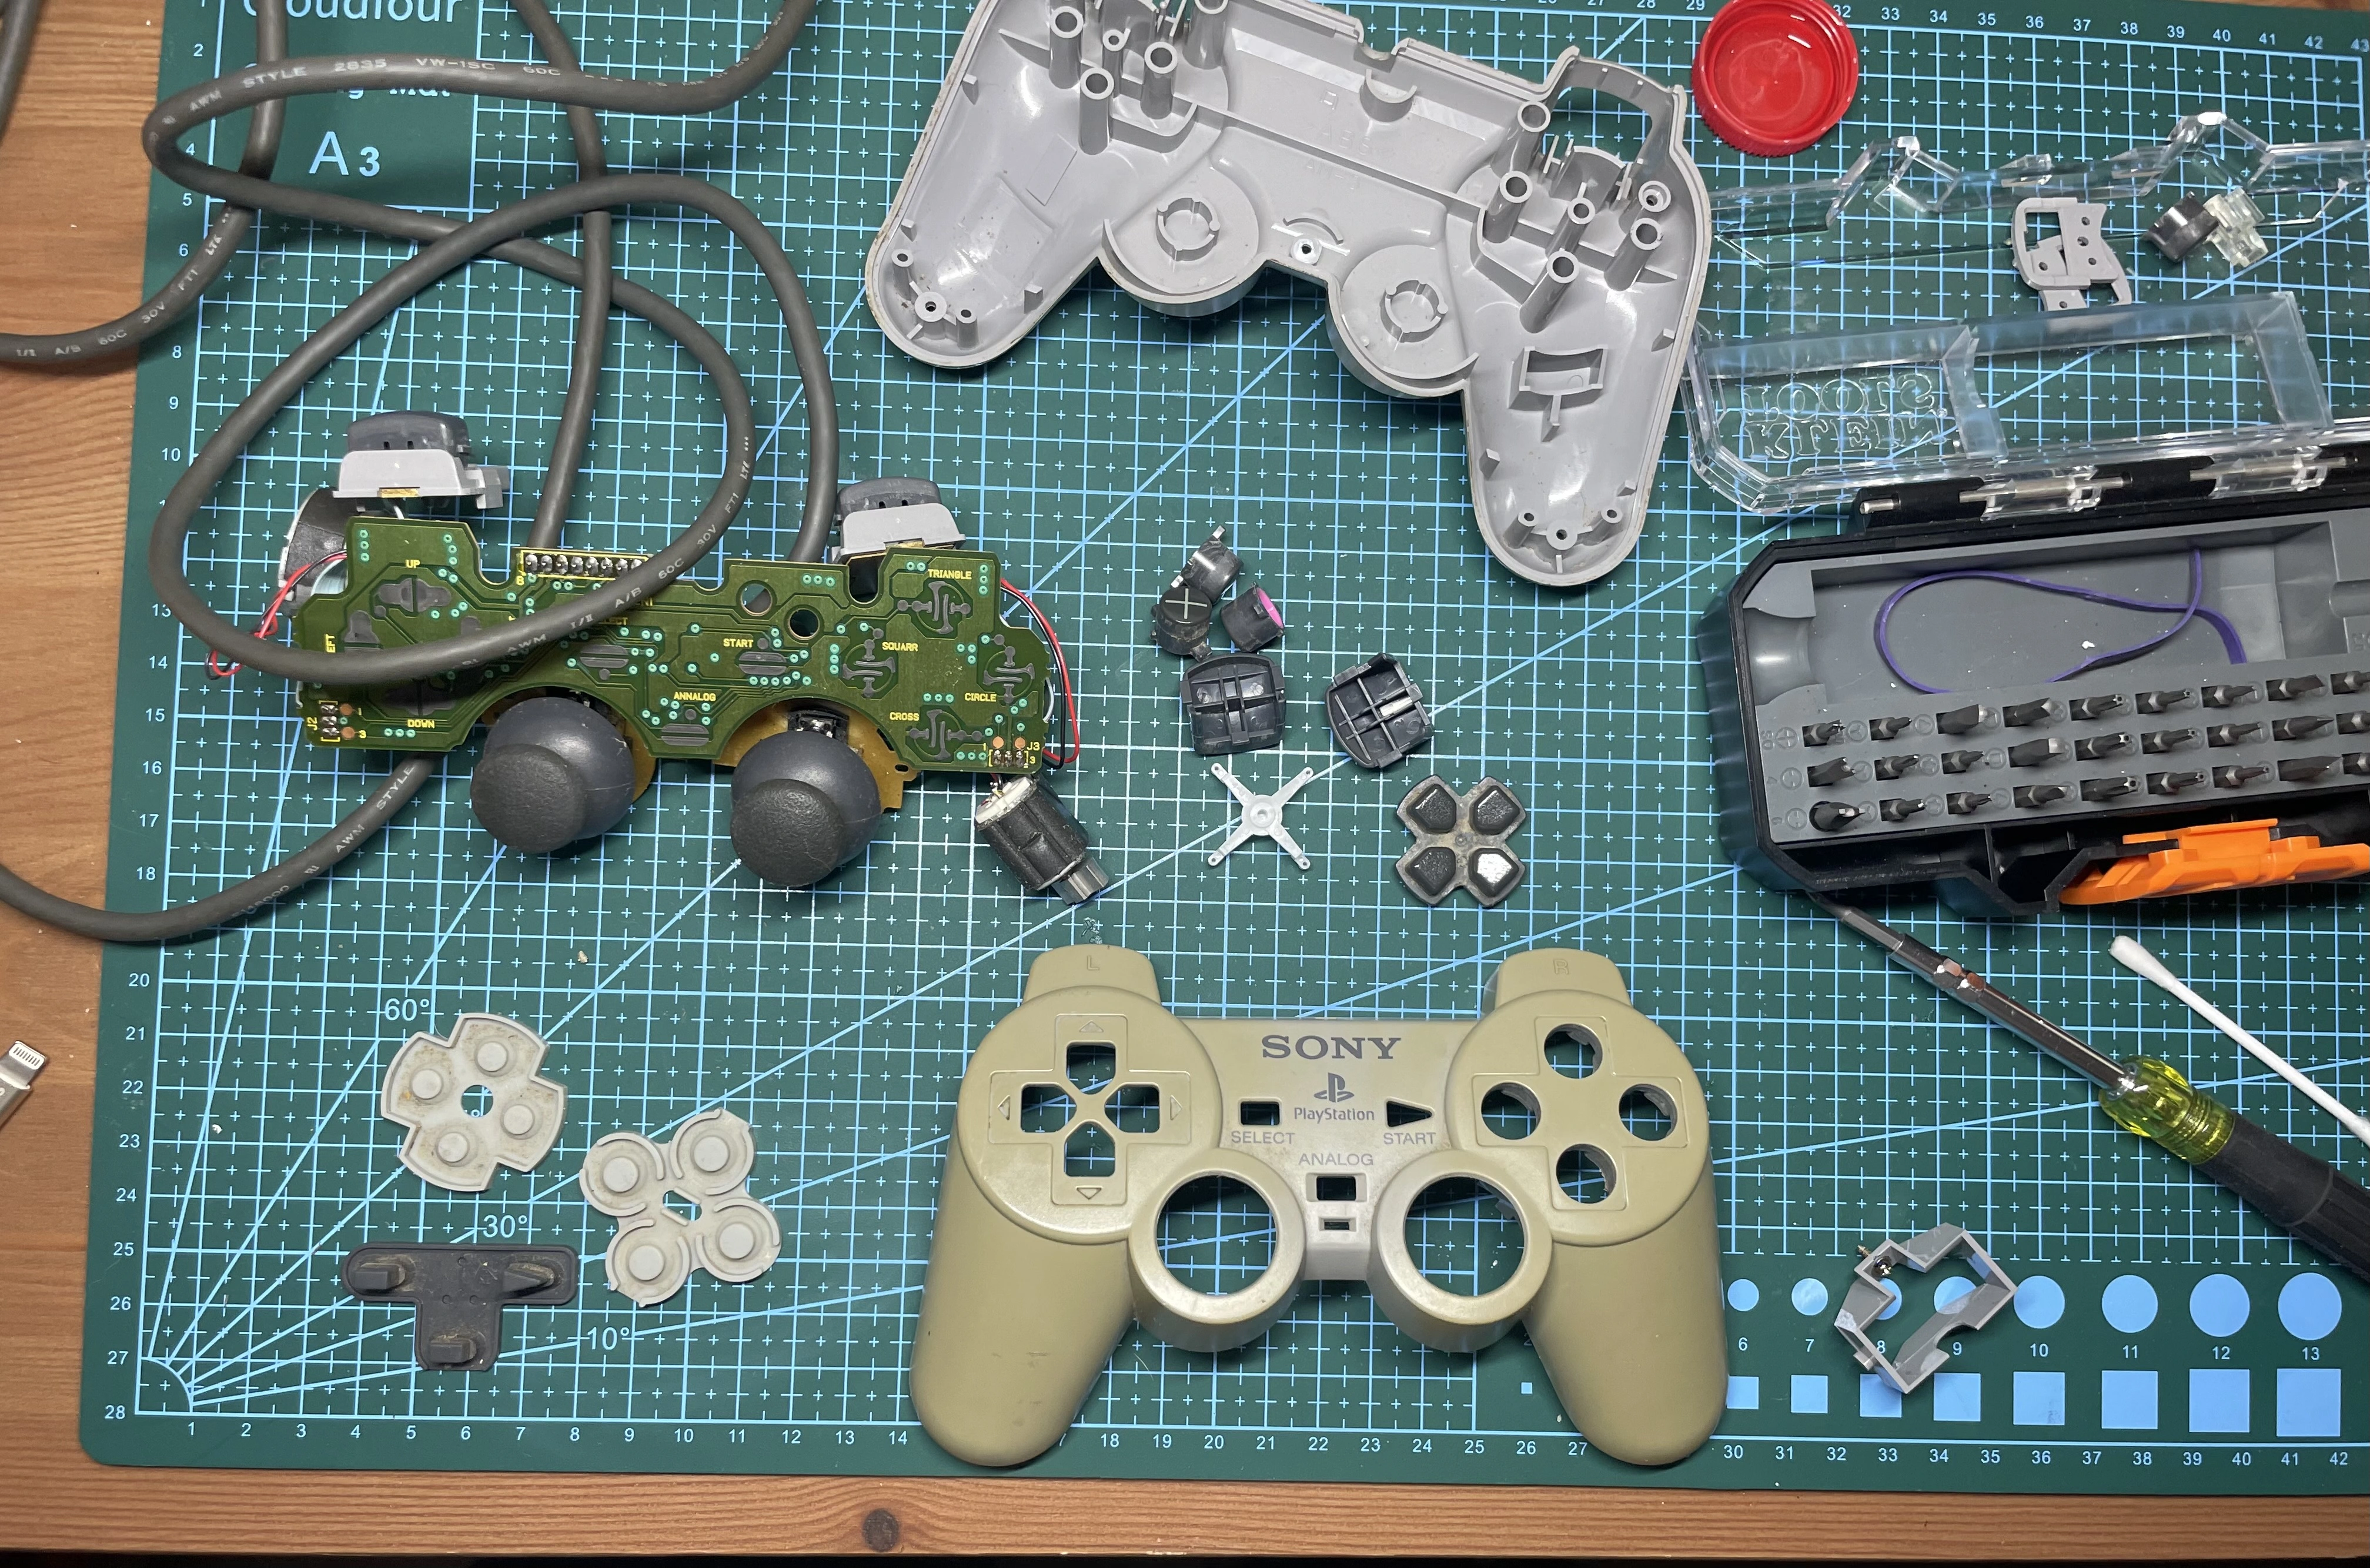
Aside from retrobrighting, since the controller is already disassembled, I cleaned the PCB and all other elements with isopropyl alcohol. There was a lot of dirt, and a good cleaning - especially of the button contact points - ensures this controller will work well. As for the plastic parts, I washed them in warm soapy water.
Preparing the Setup
Here’s the list of items I needed for my retrobright project.
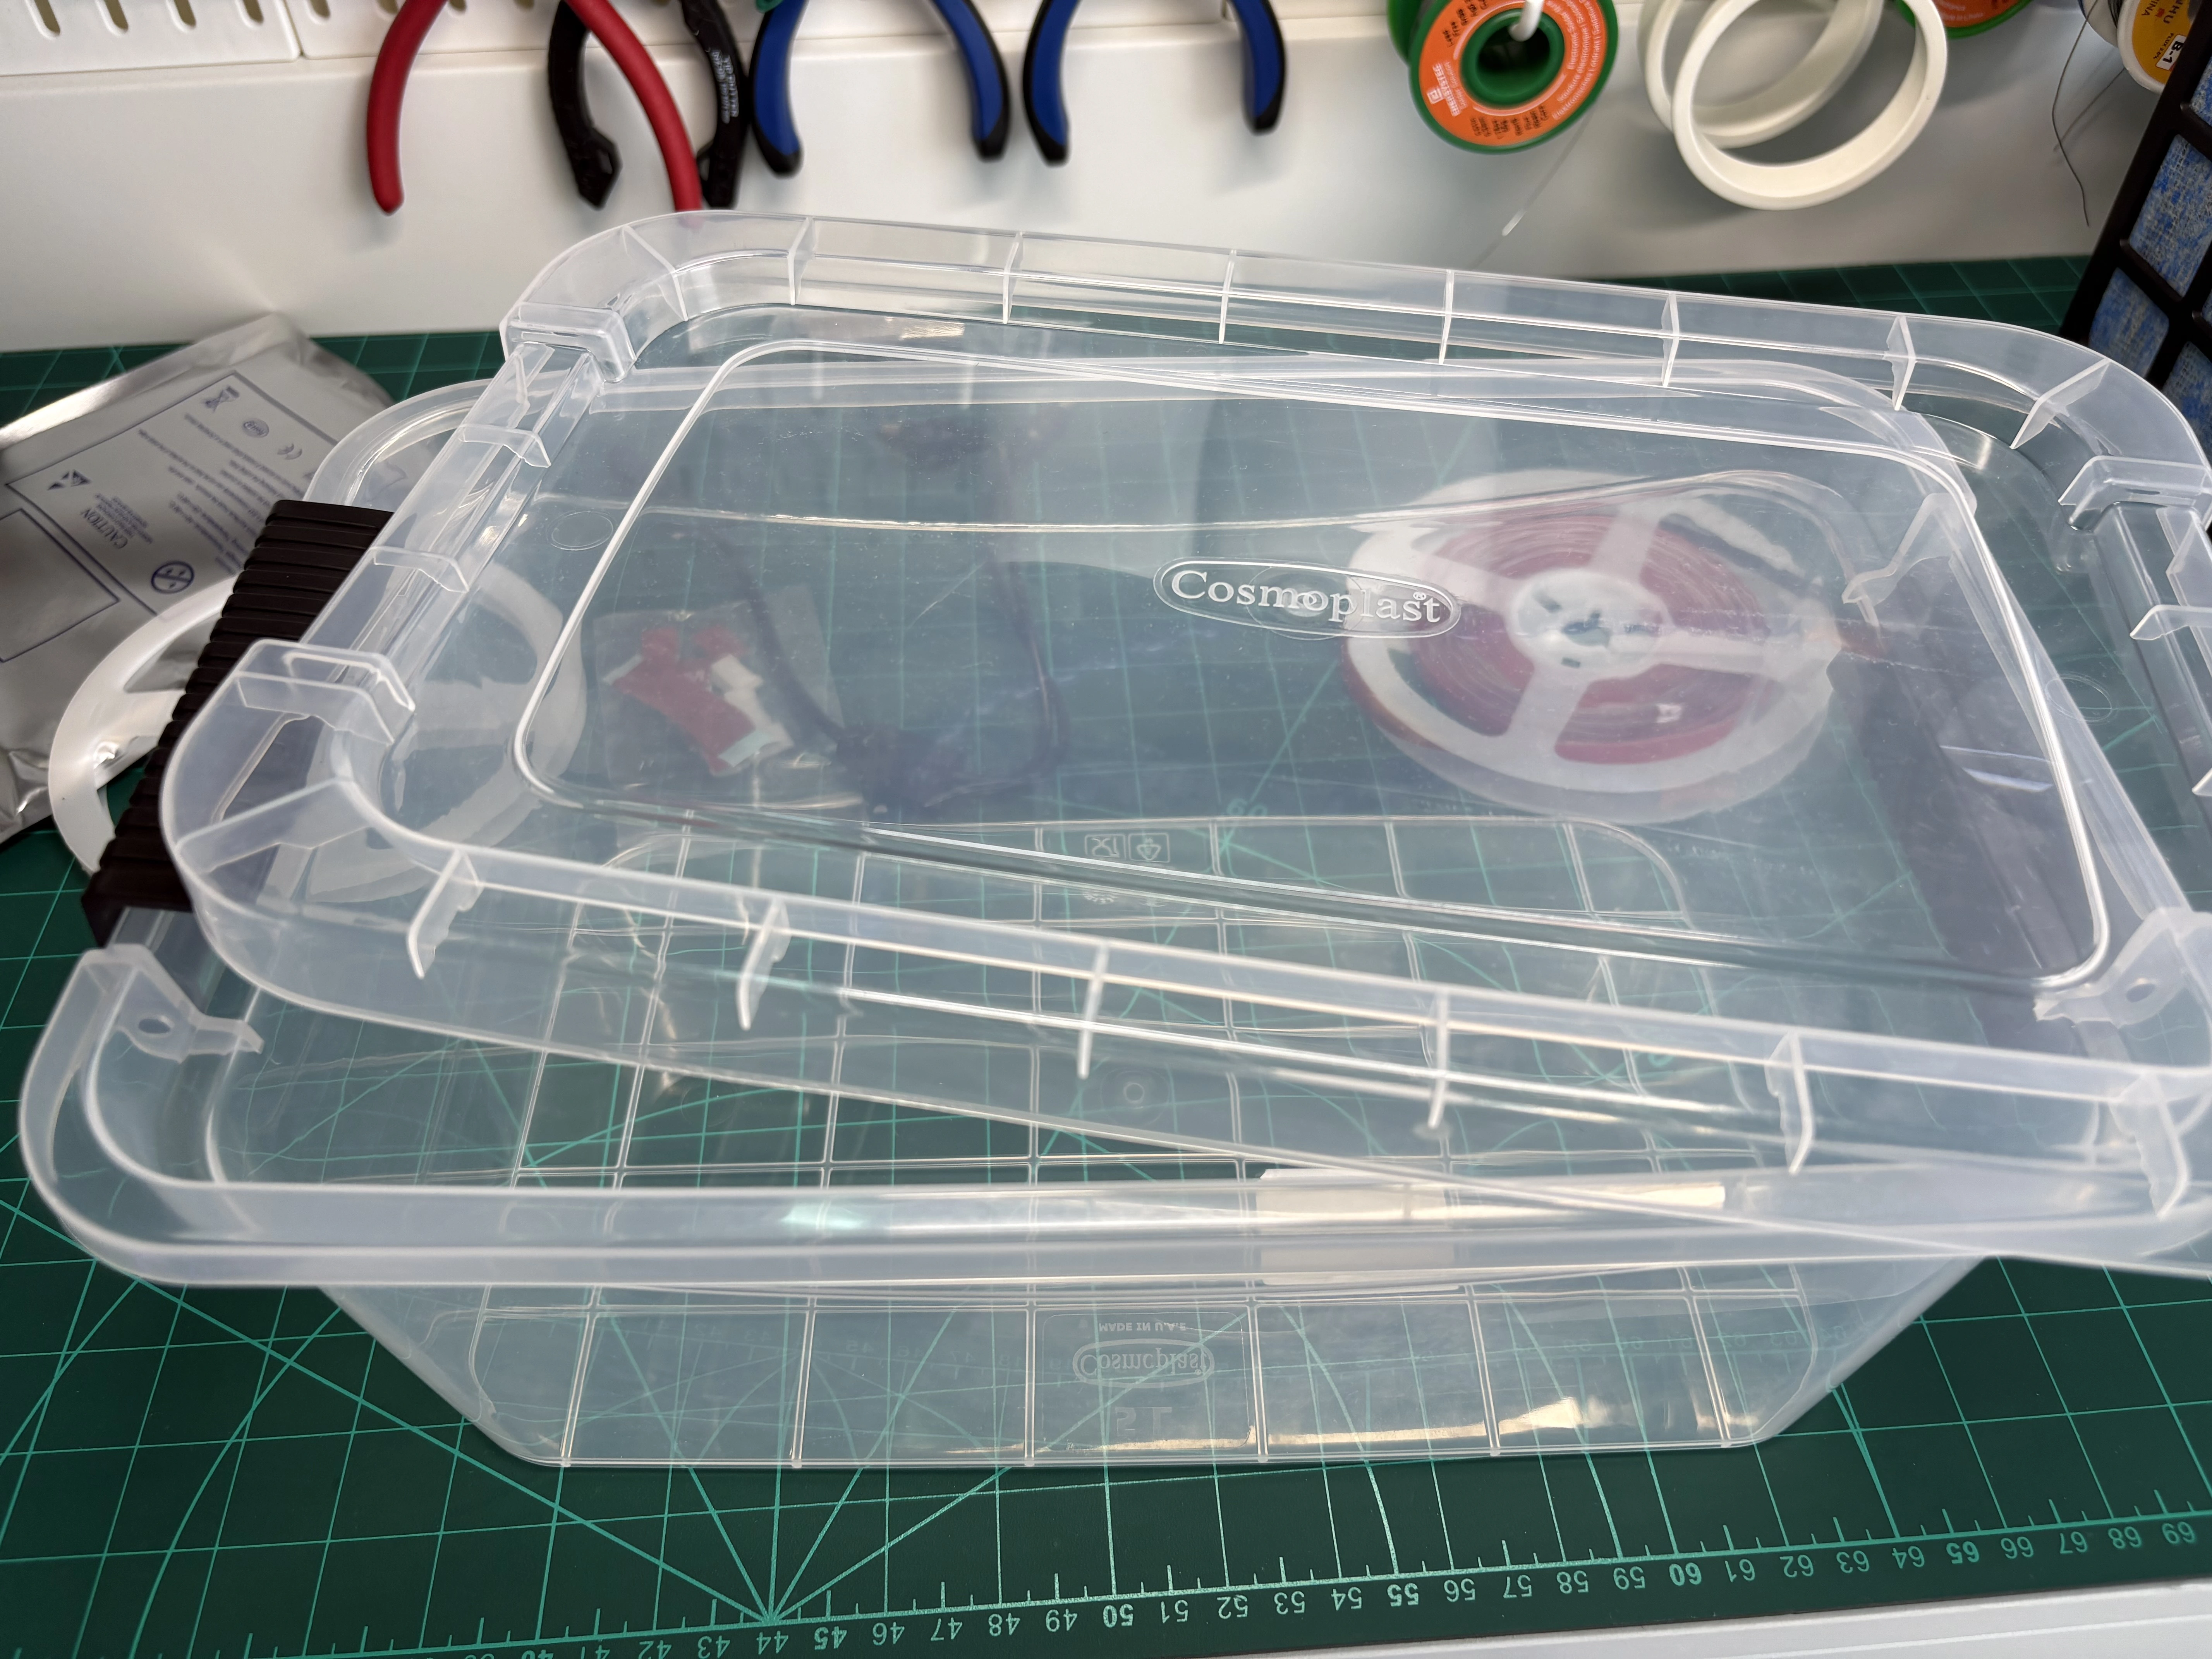
Clear Plastic Container
I chose something just big enough to fit the controller shells so I wouldn’t need to use more hydrogen peroxide than necessary. The box is clear because we need the UV light to pass through its walls. The UV light will come from the LED strip wrapped around the container walls.
Measurements:
- Capacity: 5 L
- Lid size: 31.3 x 20.3 cm
- Box height (without lid): 12.8 cm
UV Light Source
I got a 5-meter-long UV LED strip. It comes with a 12V DC adapter and includes DC jack connectors and adapters, so I didn’t need to cut or solder wires.


Aluminum Foil and Clear Tape
Just a roll of aluminum foil to wrap around the box and LED strip, so all the UV light stays inside for the best and fastest results.
Hydrogen Peroxide
I used 2 liters of 12% hydrogen peroxide solution.
Putting It All Together
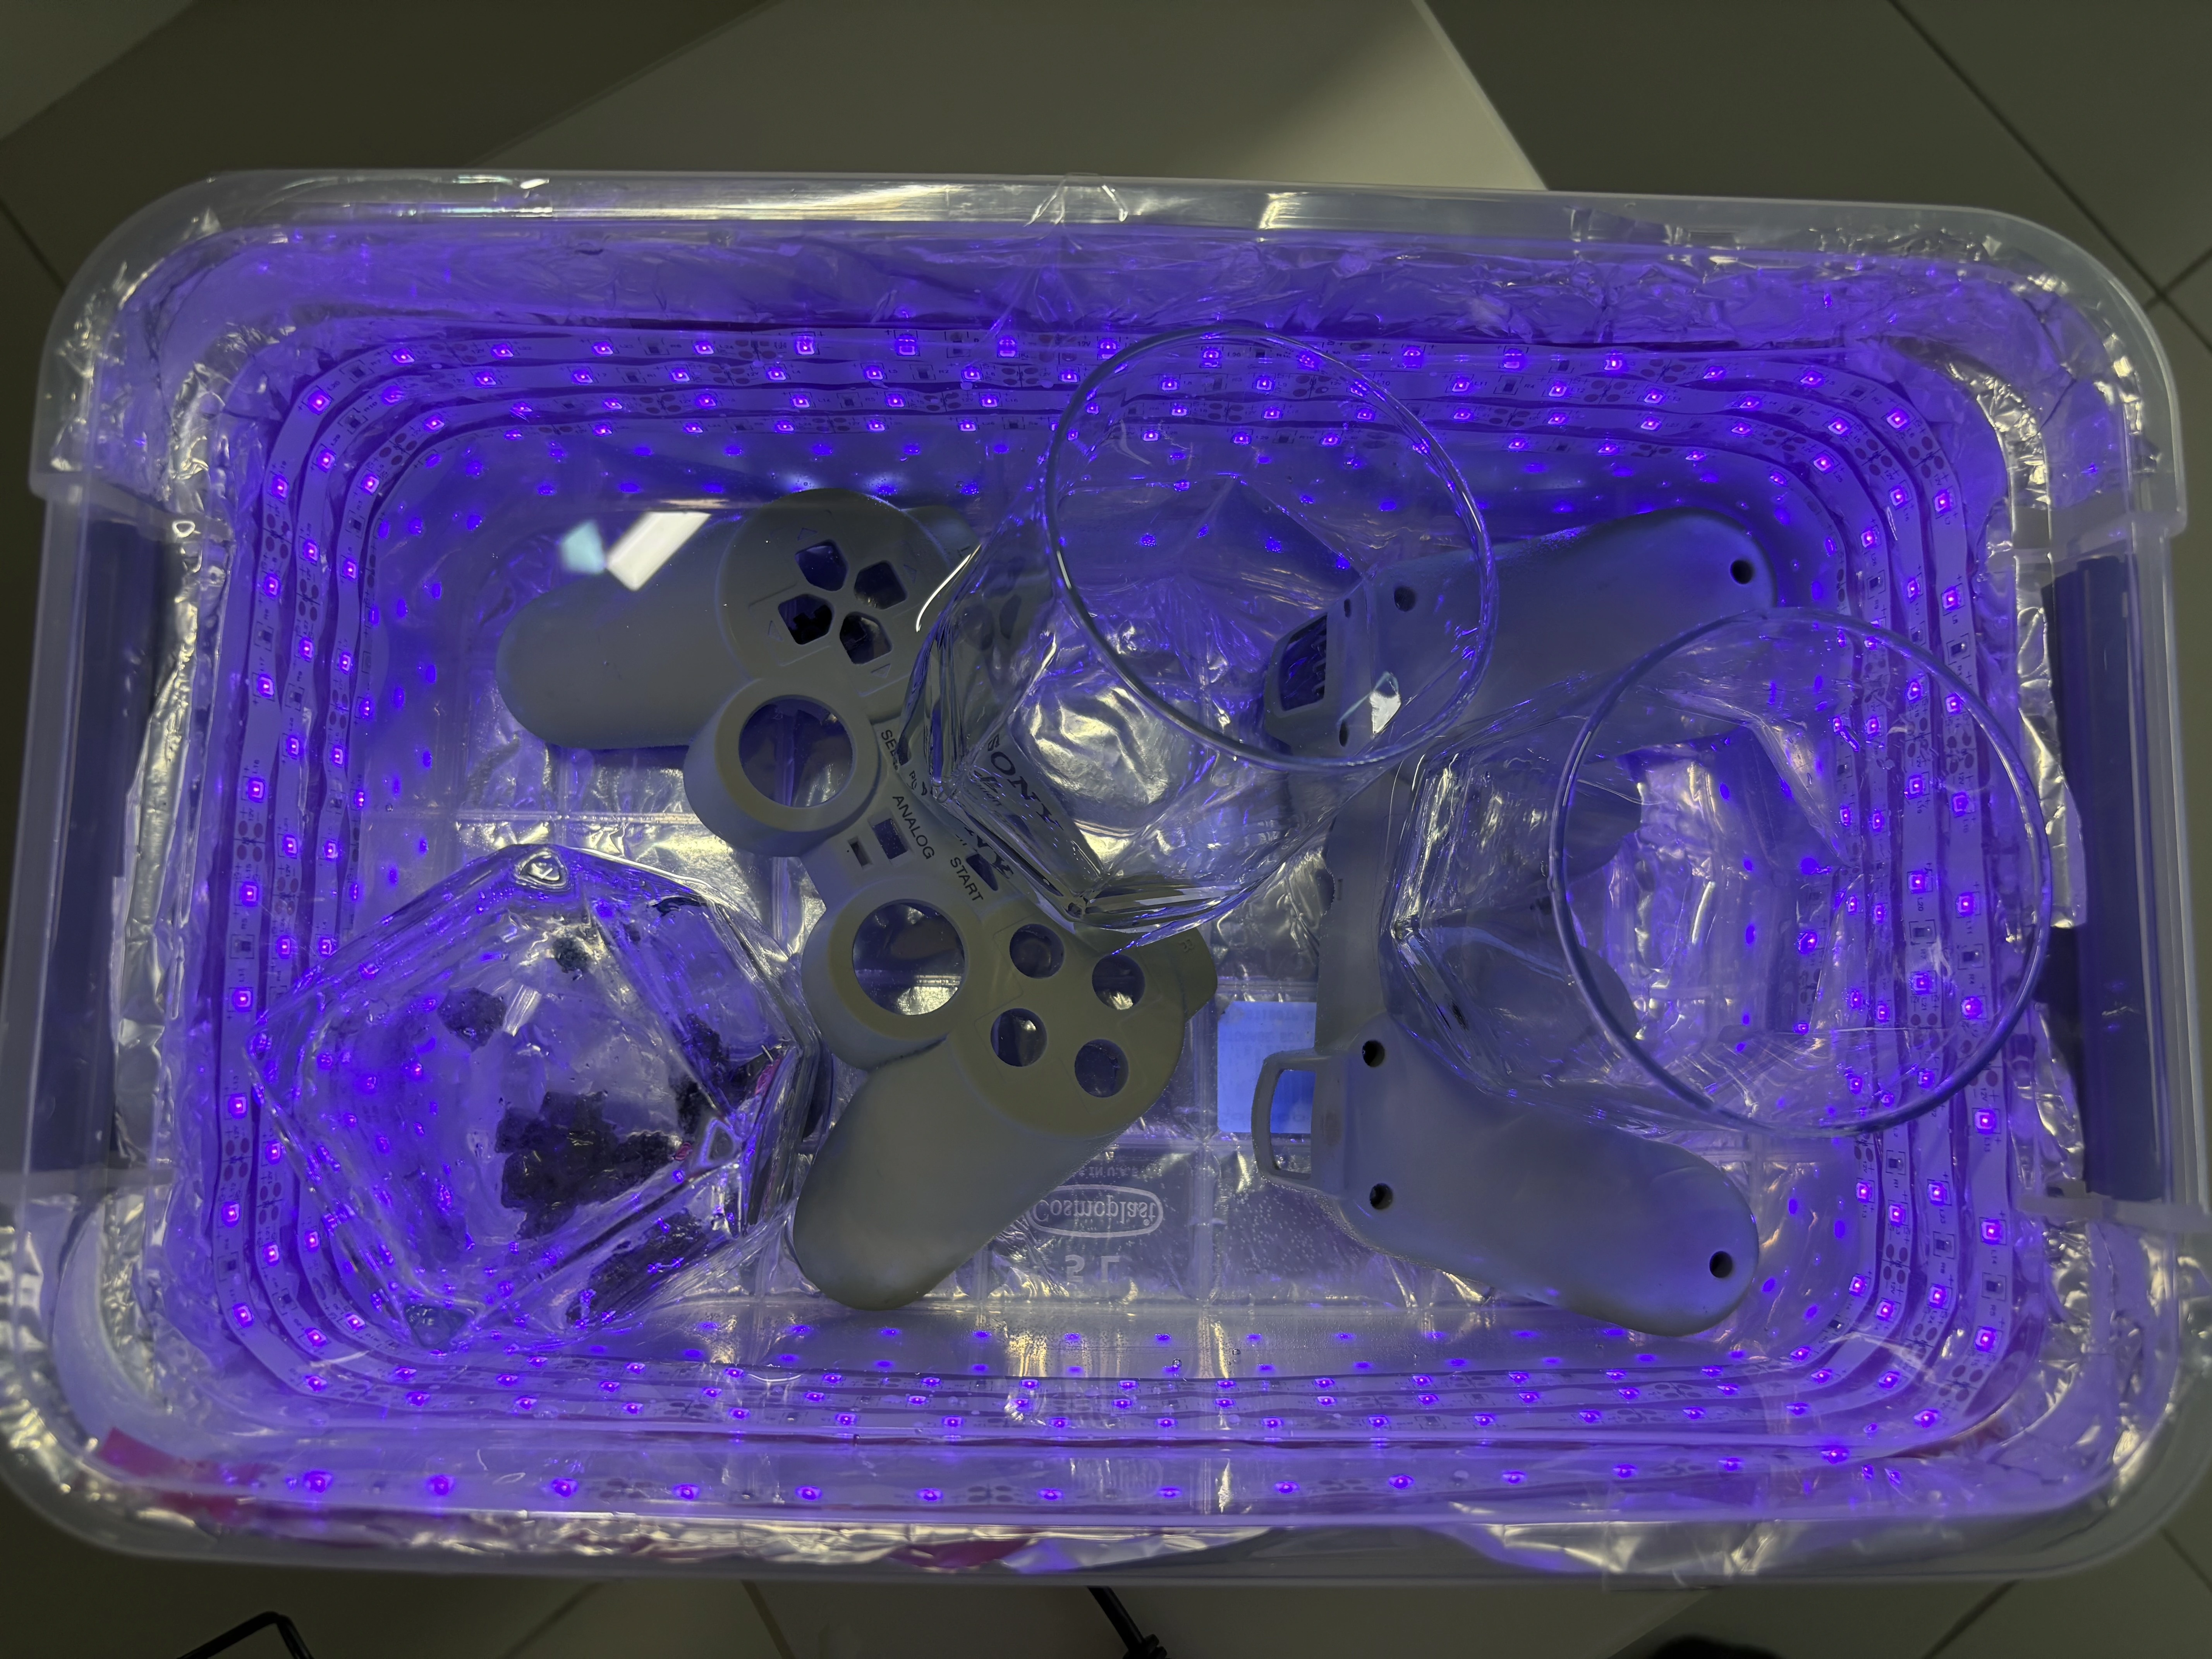
First, I wrapped the LED strip around the plastic container. Then I wrapped aluminum foil on top of the LED strip, as well as over the container lid. I finished the wrapping with a layer of clear tape so the foil is protected and won’t tear over time.


I poured the hydrogen peroxide into the container and then submerged the DualShock plastic parts in it. I also used clear glass mugs to prevent the plastic parts from floating, as we want them to be fully submerged at all times. After that, I turned on the UV light and covered the container with the lid.
Results
I left the container outside in the garden for about 18 hours. The results are really good, and this DualShock looks much better than before. All yellowing is gone, and it looks fresh and clean. The difference is especially visible when you compare the color of the connector and the controller itself. The cable and the connector were not submerged in the solution.
While I’m happy with the results overall, there is one thing that makes me wonder if the whole process went perfectly. When you take a close look at some areas on the back of the controller shell, you can see some inconsistencies in the brightness - small spots or “patches”. It looks like the reaction did not take place at the same intensity across all areas. I wouldn’t have expected that, because the aluminum foil was supposed to reflect the light and help it reach every corner of the controller shell. This is something I might want to research further when working on the next retrobrighting project.
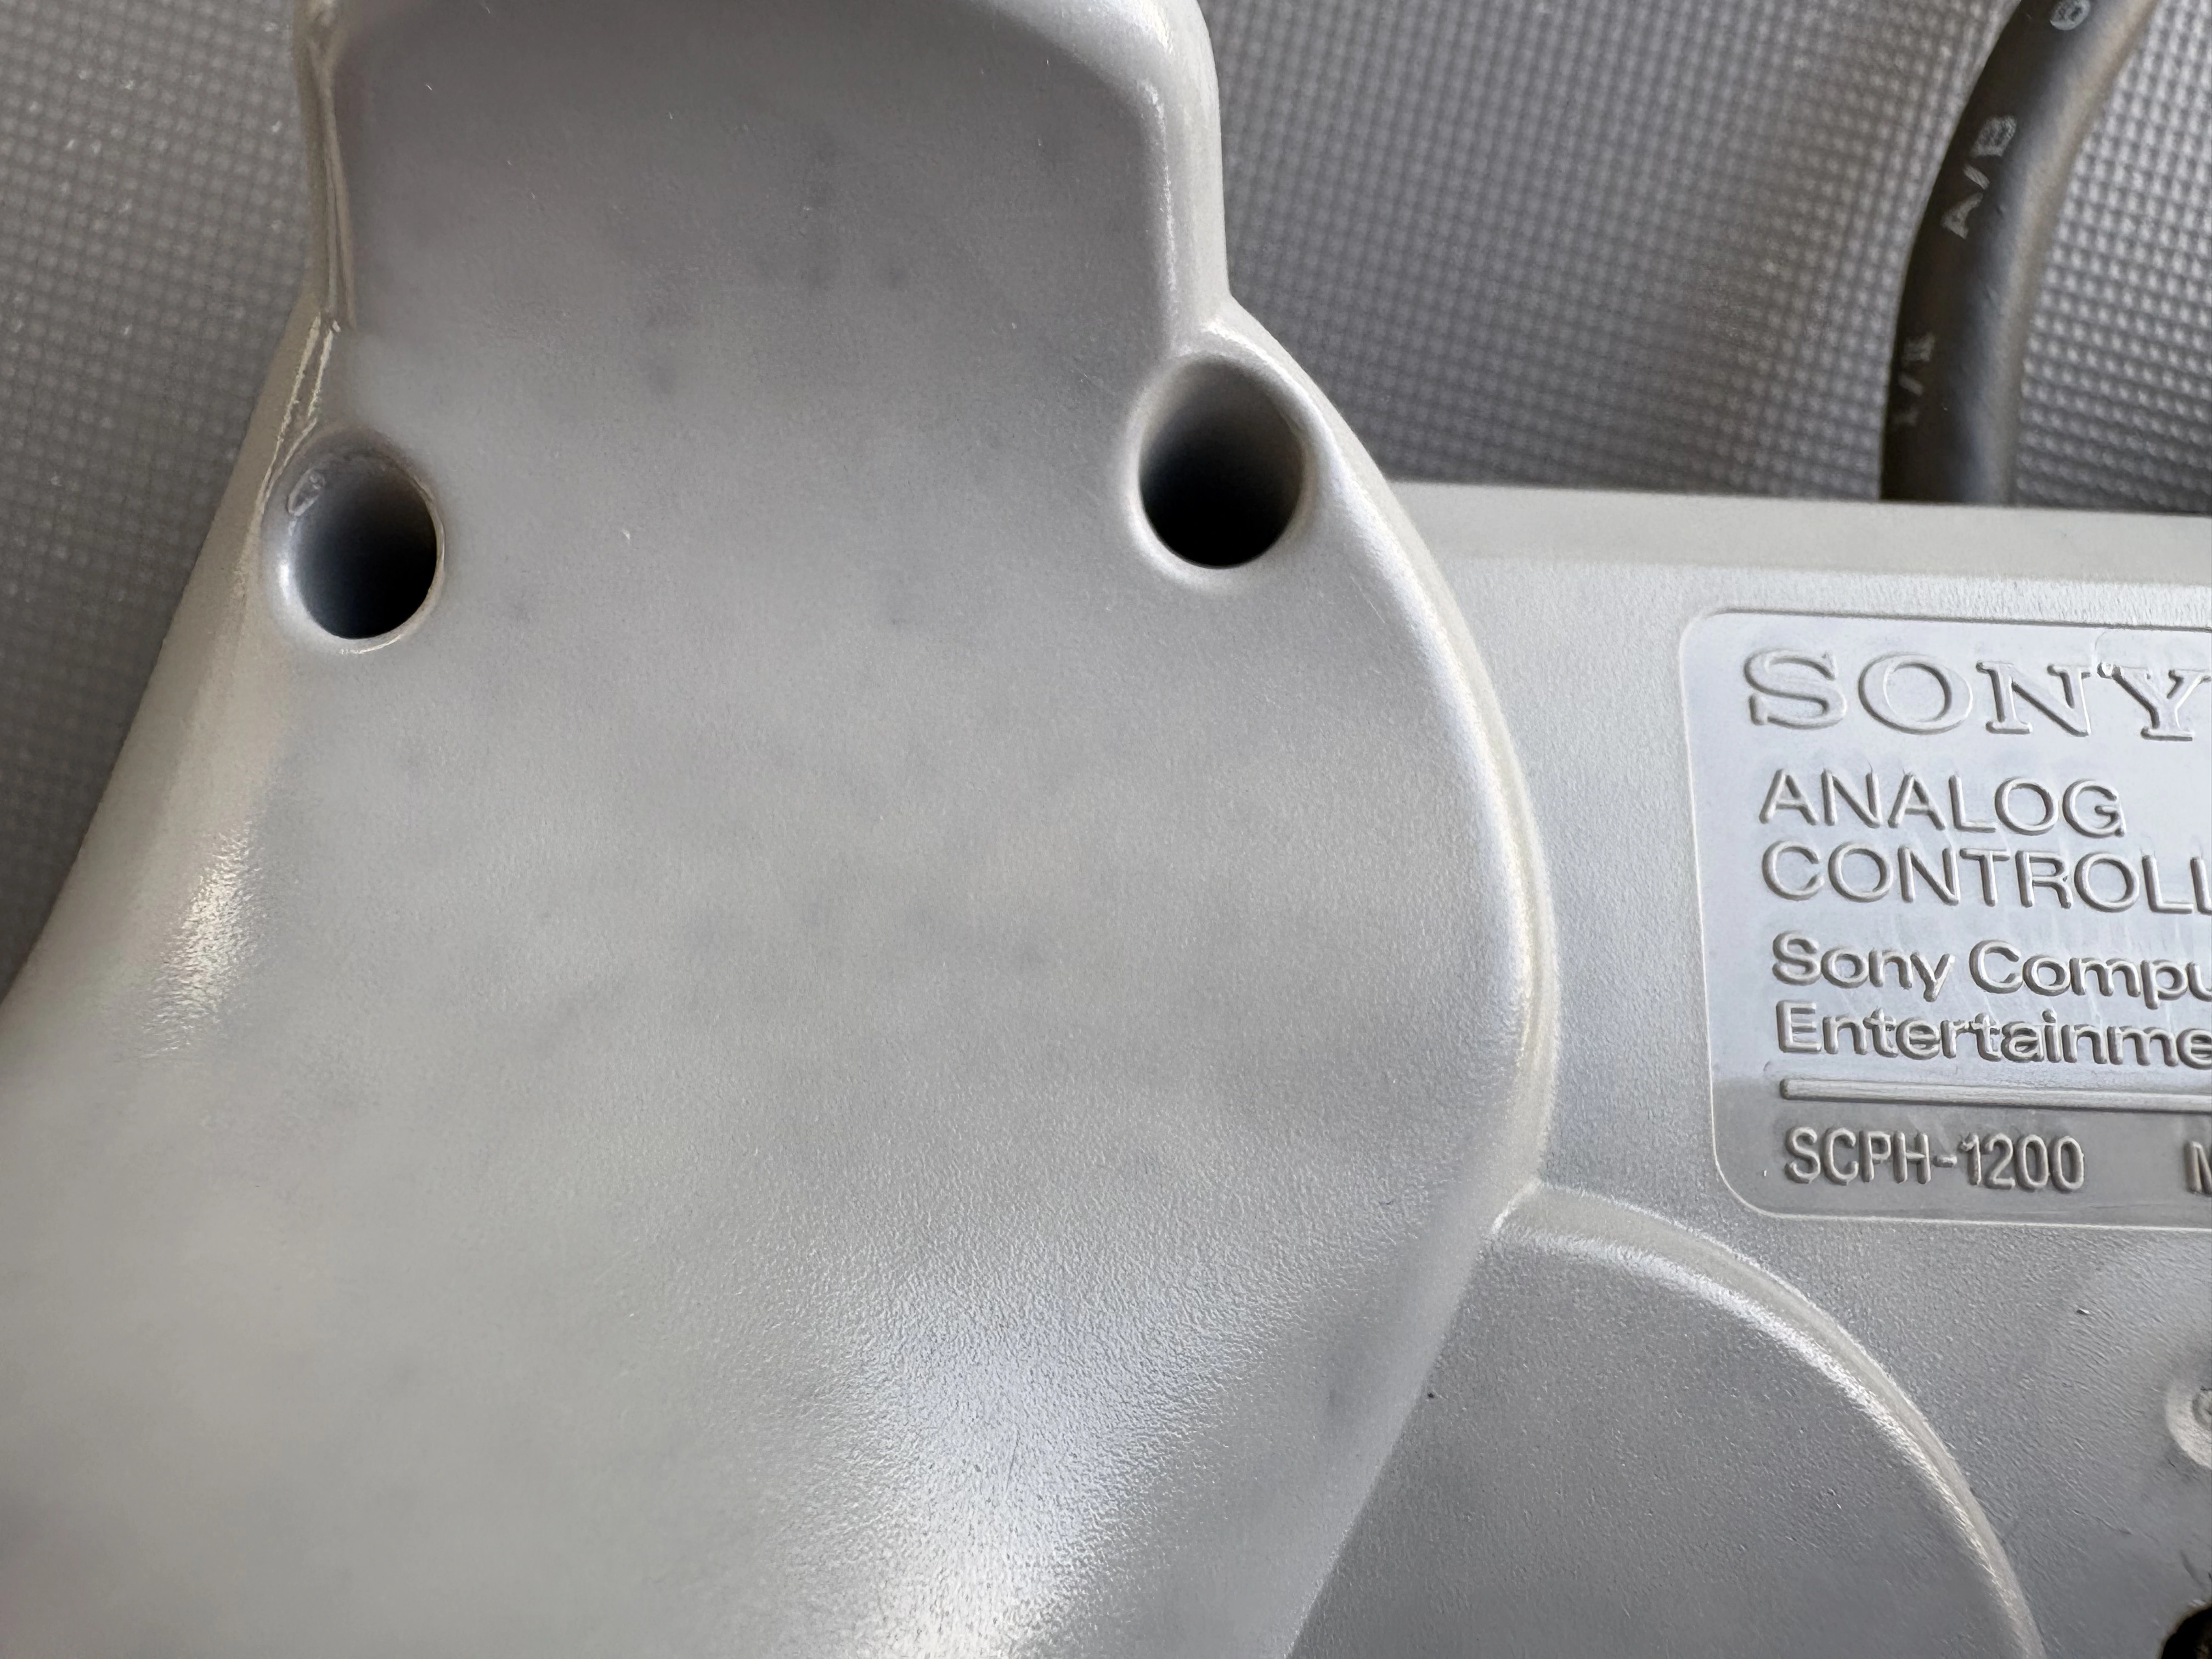
One more thing that could be done next time is to check how we can retrobright the cable, the connector, and the ferrite ring. The tricky part about the cable is that while it’s easy to remove it from the PCB by desoldering it from the contacts, the ferrite ring and the connector shell parts are bonded together in a way that I couldn’t figure out how to open without causing damage. Something to look into next time!